My First Mobile Installation
with a little help from my friends
2 November 2020
by Lisa Roberts, AL6Y, ARRL member
Photos by Eric Nichols, KL7AJ, ARRL member
My first major task as a new ham was the installation of a working ham radio setup in my vehicle. Mike Sambuco, AL7KC; Christopher Howard, KL1TL; my mentor, Eric Nichols, KL7AJ, and my brother-in-law, Dan Liskiewicz, KL7W, assisted with this installation.
I used my Icom 207H VHF/UHF mobile radio for this installation and bought the necessary parts from DX Engineering, GigaParts, and Amazon.
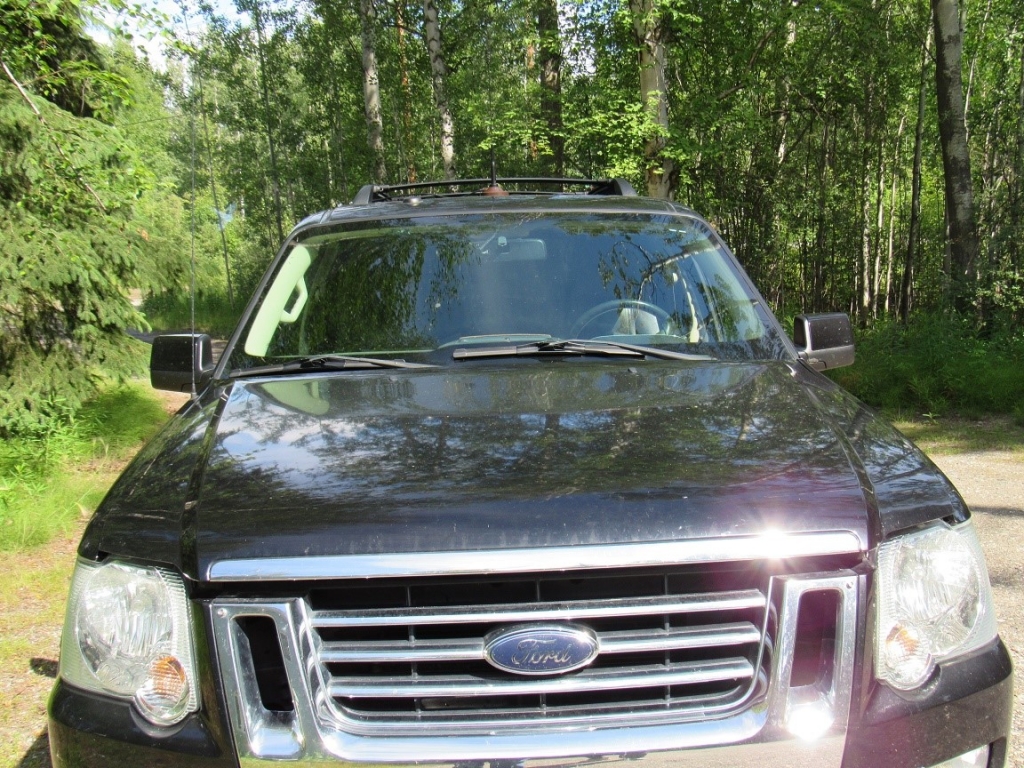
Photo 1: The Patient; a Ford SUV
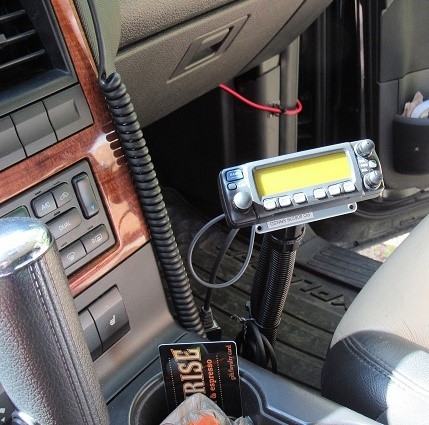
Photo 2: Notice the power cord in the background and the transceiver control head attached to the gooseneck.
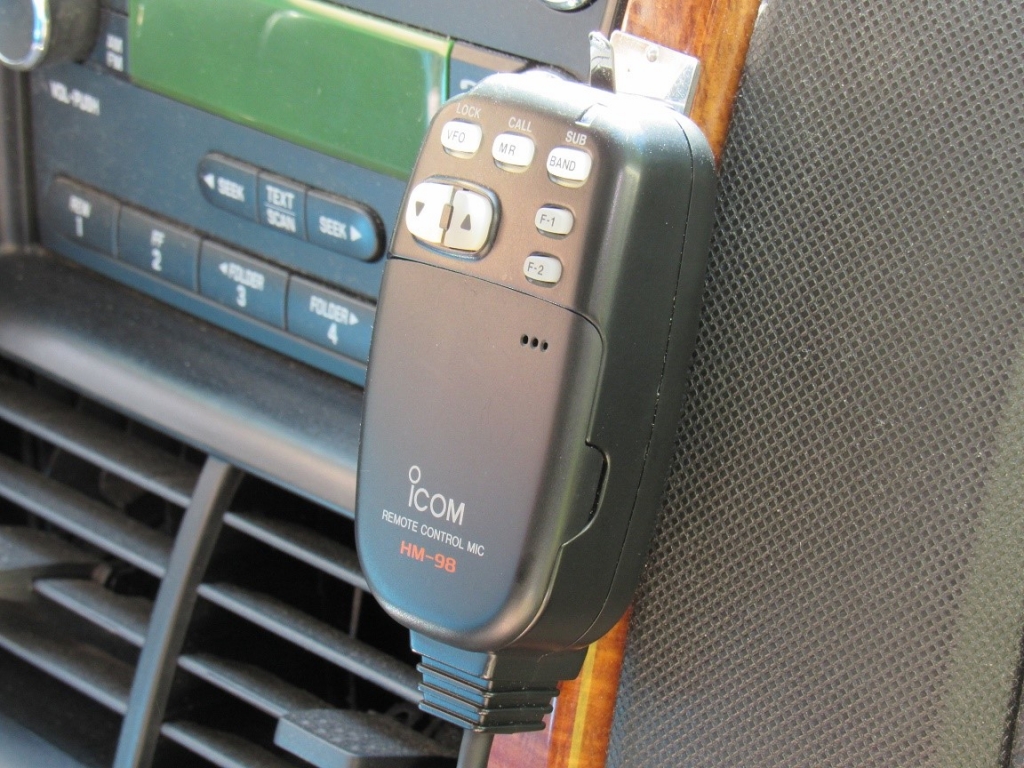
Photo 3: The microphone's new home.
Parts List
Icom IC-207H Optional Mounting Parts:
From DX Engineering
- Icom Remote Separation Cables, OPC-600R, 11.5’, Part Type: Transceiver
- Remote Faceplate Separation Cables, P/N: ICo-OPC-600R
- Icom OPC-440 Microphone Extension Cable, 16.4’, P/N: ICO-OPG-440, $89.89
- Icom OPC-647 Microphone Extension Cable (for Icom IC-207H), 8.2’, P/N: ICO-OPC-647
- Lido Mounts, LM-300, gooseneck floor mount, P/N: LDO-LM-300, $29.99
- Lido, LM-AD1 Display Head Adapters, for Lido Mount gooseneck floor mount, P/N: LDO-LM-AD1, $8.99
From GigaParts
- Icom Microphone Extension Cable for IC-207H: SKU: ZIC-OPC-440, 16.4’, $72.95; SKU: ZIC-OPC-647, 8.2’, $75.00
- Icom Remote Separation Cable
- Icom External Speaker SP-35, 5 W up to 7 W output: SKU: ZIC-SP-35, $54.95
- LIDO PRODUCTS: LM-300 Gooseneck Mount, SKU: ZLI-LM-300, $29.95; LM-AD1, Lido Display Head Adapter for the gooseneck mount, SKU: LDO-LM-AD1
Antenna parts:
- CMA-SBB-5NMO, Antenna, Mobile, Vertical, NMO, Dual-Band, 2m, 70cm, 38 in. height, (Mfr. #: SBB-5NMO)
- The mount: DMN-SPMNMO, Antenna Mount, Mobile, 4 in. Magnet, NMO Mount, 13 ft. cable w/PL-259, for antennas 45 in. or less (Mfr. #: SPMNMO)
The Installation
I wasn’t planning on cutting any holes in my SUV, so we decided to run the transceiver power cord through an opening in the passenger side fender and feed the line around where the door would close on it. The weather stripping is still flexible enough to seal the door and not crush the cord.
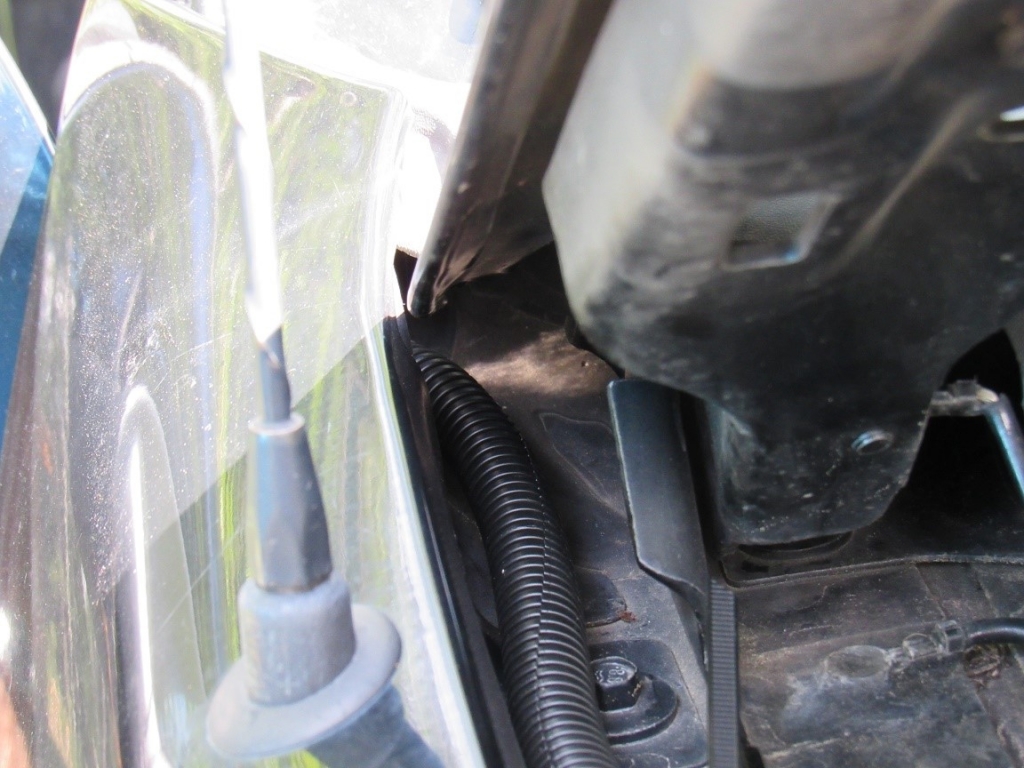
Photo 4: Feeding the Fender with the Power Cord (inside the 3/8” loom)
We fed the newly terminated power cord through the fender into the engine compartment. Then it turned and tucked up underneath the hood weather stripping (along the back of the engine compartment but on the outside), followed by a gentle right turn to go to the battery. I taped the terminals together until I was ready to connect them to my battery to test my rig.
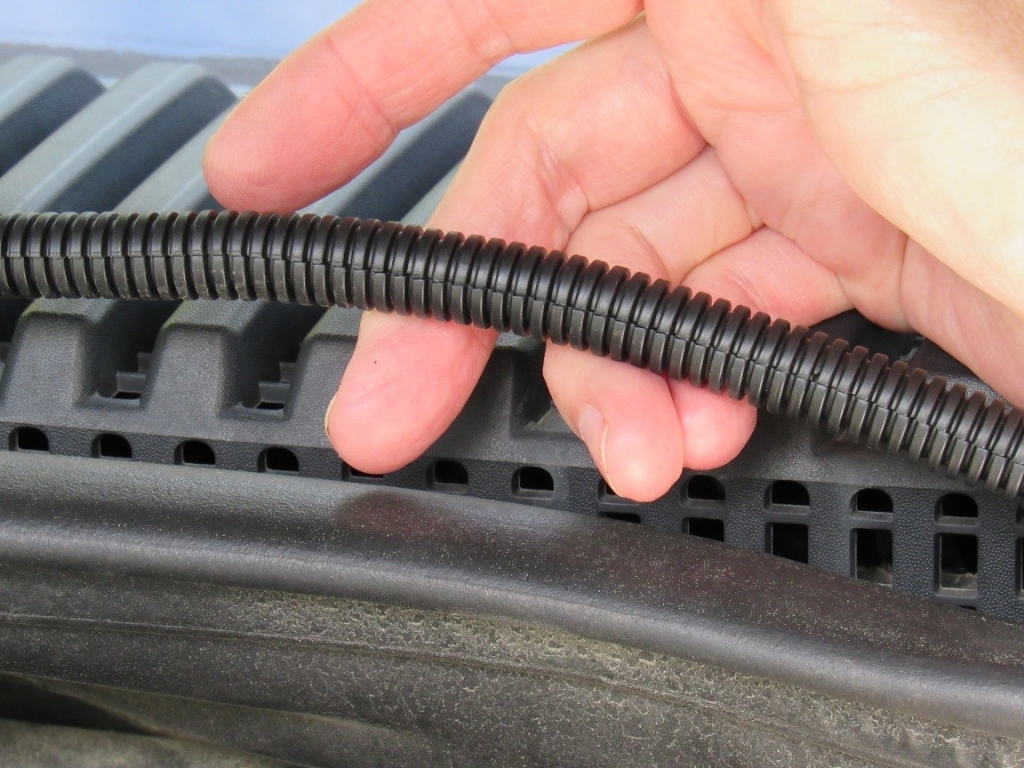
Photo 5: The Loomed Power Cord running along the back of the Engine Compartment
The other end, with the Molex connector, was already inside the vehicle waiting to be routed under the dashboard, along the console to the backseat, where the excess would be coiled up and placed underneath the front passenger seat.
Eric handed me zip tie mounting bases, so I could place them on the body of the SUV inside where the front passenger door closes and next to the door’s weather stripping. I was able to zip tie it in place, but I did not cinch down the zip ties. I wanted to finalize it by placing it in loom.
I left enough of the power cord uncoiled to allow it to be run under the wiring of my power seat to the transceiver. The transceiver was sitting on the front passenger floormat, so I could make all the connections to it before tucking it underneath the seat.
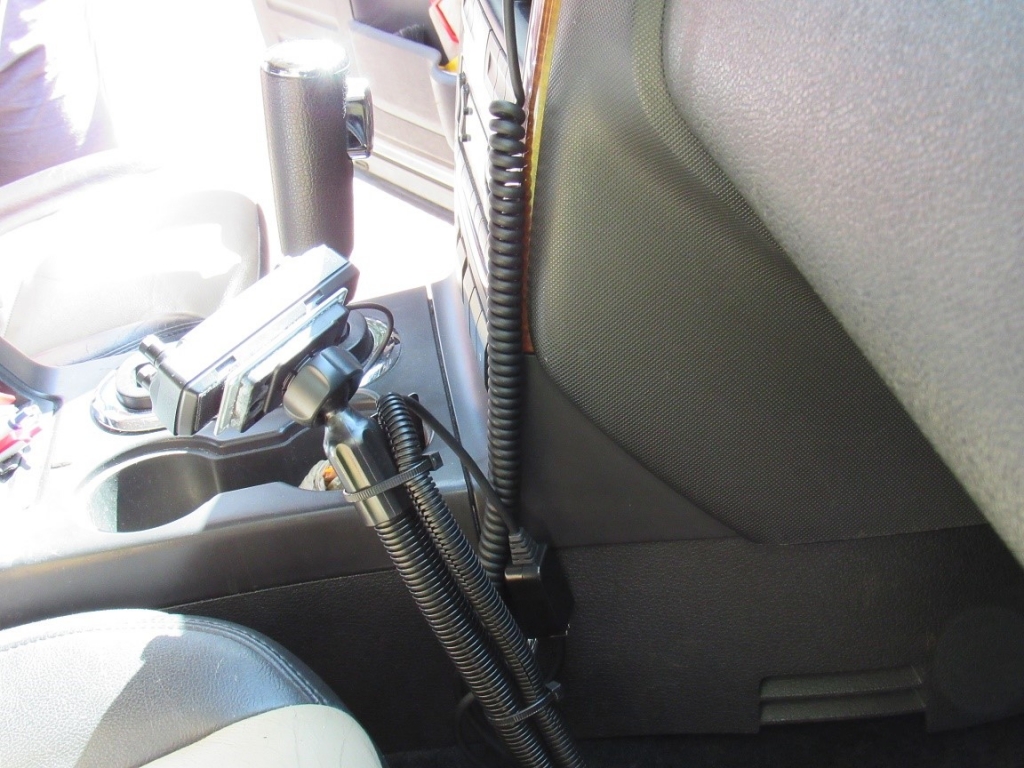
Photos 5a and 5b: The remote separation and microphone extension cables (inside the loom), Ty-Rap strapped to the gooseneck.
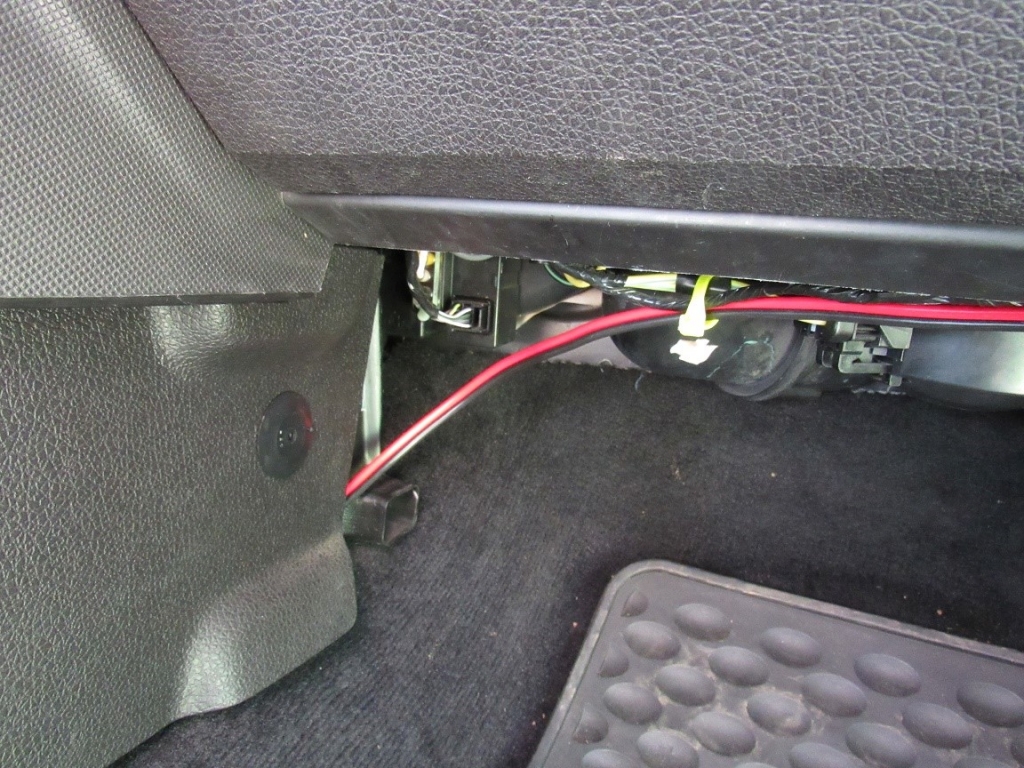
Photo 6: Under the dash with the power cord.
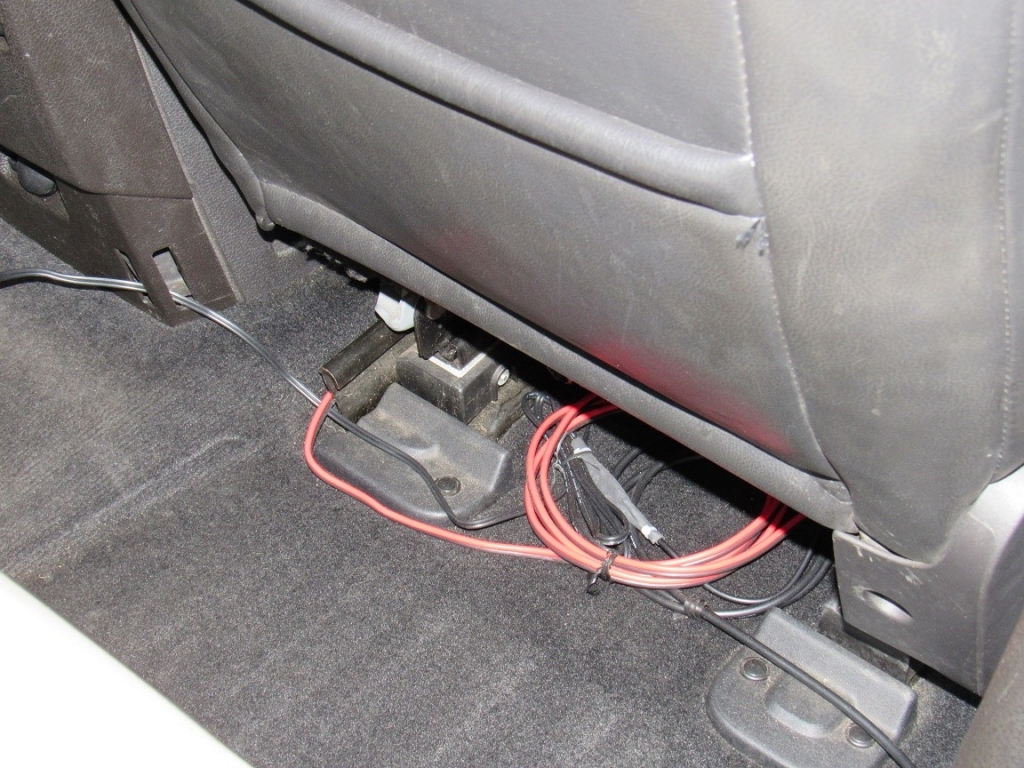
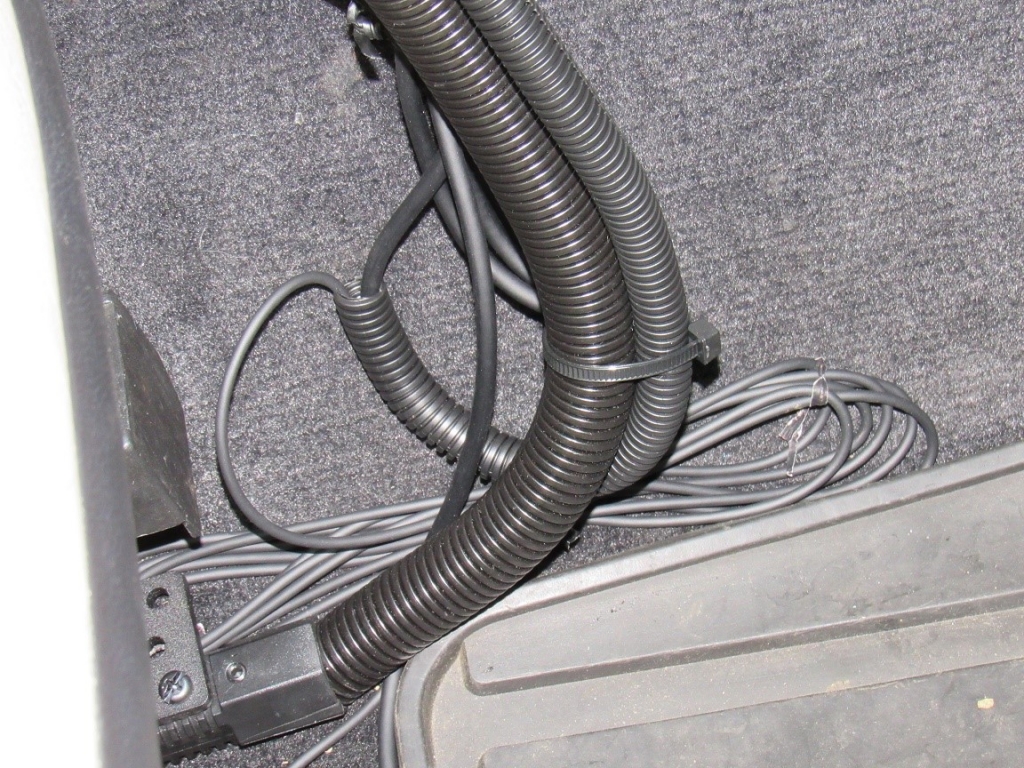
Photo 7: The coils.
Antenna and Speaker
We decided to place the antenna magnet mount in the center of the roof. The cable was run along the side of the passenger rear door weather stripping. Zip tie mounting bases wouldn’t fit, so I used electrical tape to hold the antenna cable in place. The cable turns and goes onto the floorboard of the rear passenger seat. It is now happily coiled, with enough uncoiled to feed to my transceiver for connection.
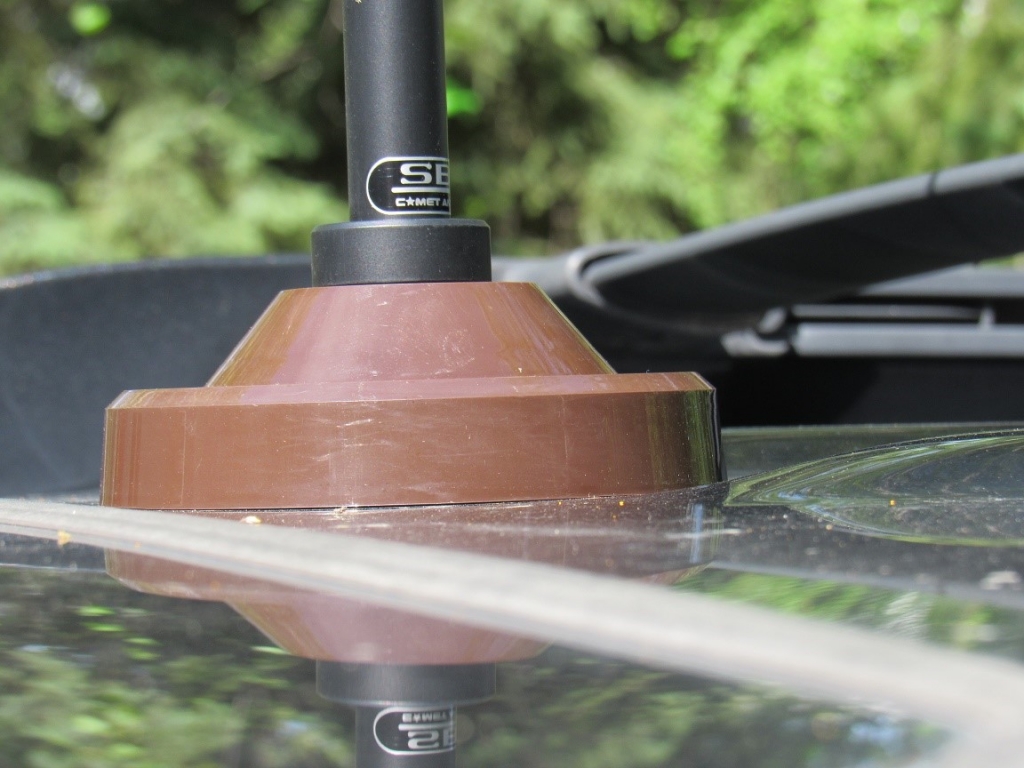
Photo 8: The antenna's magnetic mount.

Photo 9: Antenna cable. Notice the electrical tape in the lower right corner.
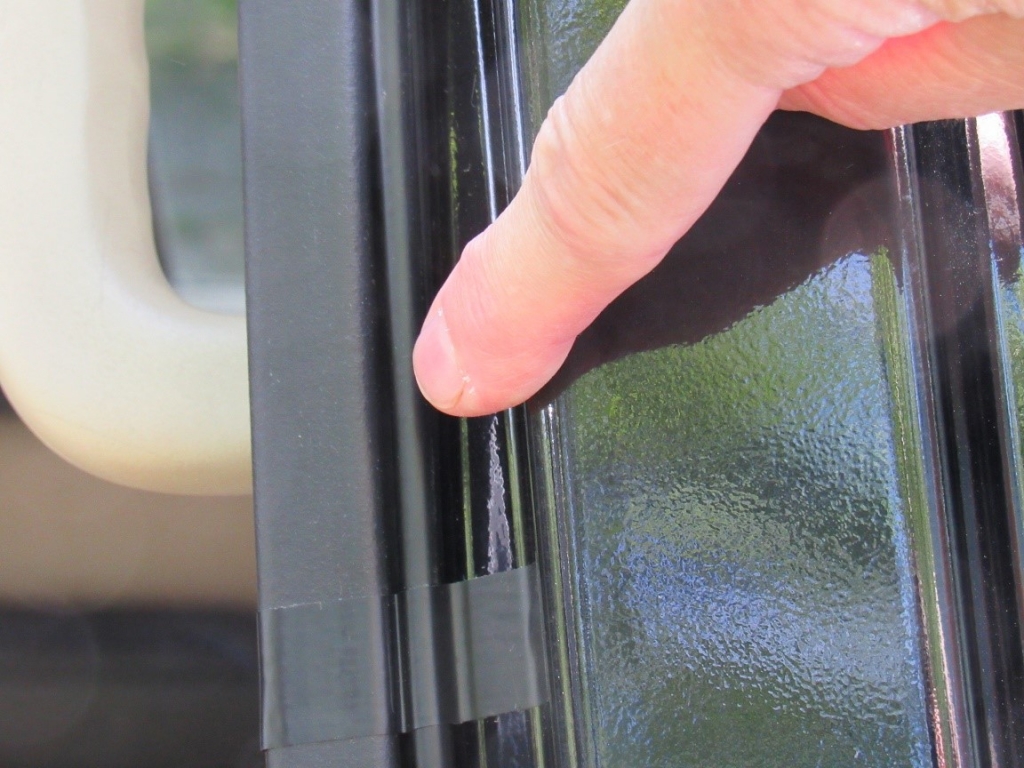
Photo 10: Antenna cable and electrical tape.
Dan assisted with putting in my speaker. In the back of my SUV, there are two cupholders on the back of the console, which now houses the stand for my speaker. We connected the speaker, then the rest of the required wiring, then connected everything to the battery to test it. It worked!
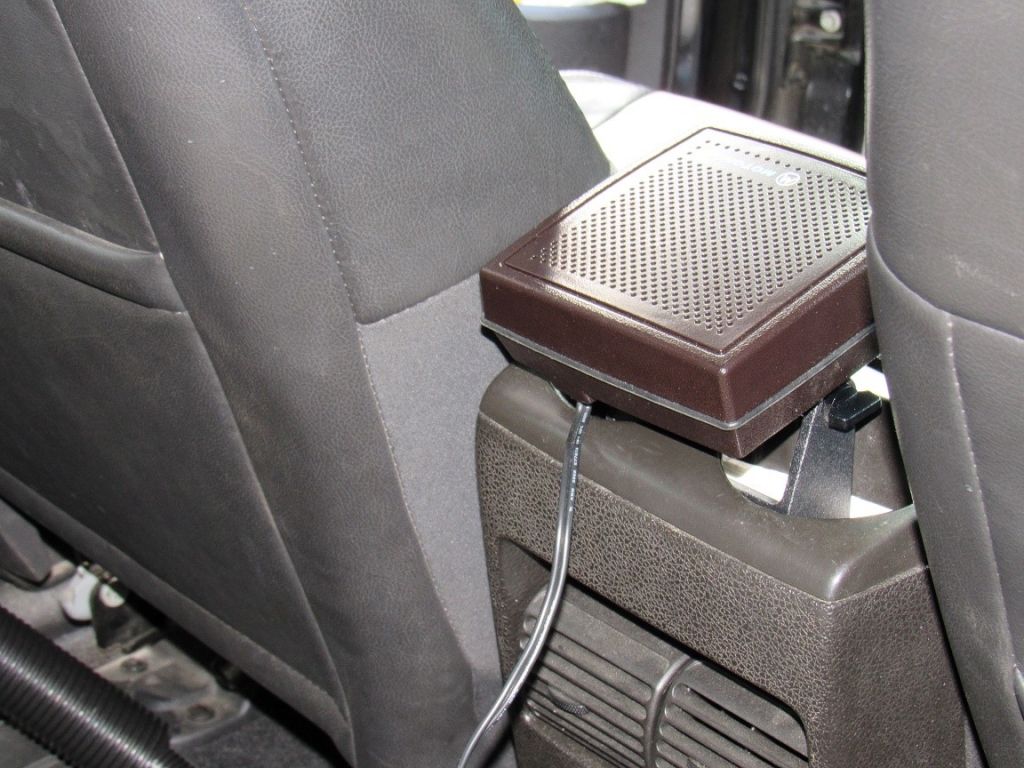
Photo 11: The speaker/cupholder combination.
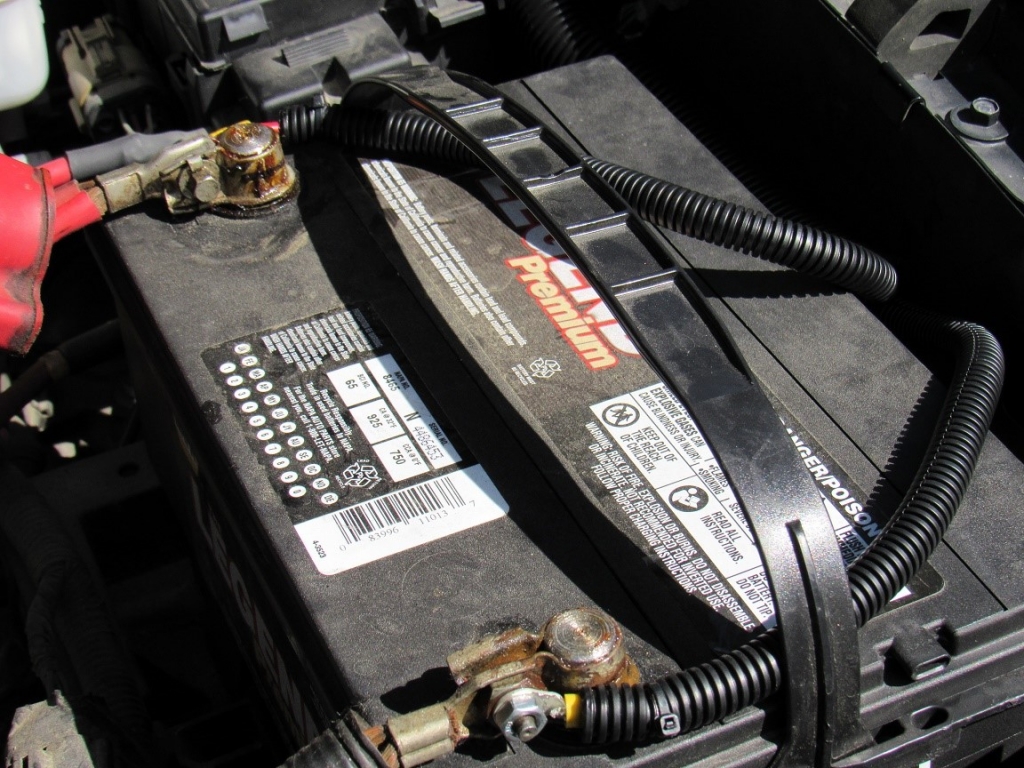
Photo 12: Battery connected. Notice the great terminal crimping that Christopher did!
Roving Test
Since this installation, I went up to Ester Dome, one of the highest accessible points in the Fairbanks, Alaska area, which is bristling with both amateur and commercial radio towers. Eric and I wanted to check how well and how far this mobile unit would transmit/receive. Now Ester Dome is finally a roving entry in my logbook. It was a lovely end to the installation process.
Thanks again to my mentors and friends for their help. I’m having a great time operating mobile!