Building and Using the Hands-Free Soldering Fixture From the January/February 2020 Issue

Photo 1: An SO239 connector, seated in the hole that was drilled for it.
Holding and working with small components can be tricky, especially when you’re applying hot solder to them. There are times during a project when we wish we had another set of hands to hold materials steady. To meet this need, there are many helper tools out there — often known as “third hands,” “fixtures,” or “jigs” — that you can buy to help hold materials or components in place while you do delicate work on them.
ARRL Senior Lab Engineer Zak Lau, W1VT, whipped up a simple, effective, hands-free soldering fixture for the January/February 2020 issue project build article, “Extend Your Handheld’s Range with a Simple Ground-Plane Antenna.” This antenna is one of the simplest you can build, and this equally simple tool, which takes about 15 minutes to build, will hold the SO239 coaxial connector for you while you solder the antenna’s wires to it. Here’s how to make it.
Soldering fixture for holding an SO239 coaxial connector
Materials:
- An 8" length of 2 × 4 lumber
- Two 7" pieces #14 copper wire
- Drill with 1/8" bit and 5/8" bit. (A 5/8" Forstner bit is ideal, as it will create a flat-bottomed hole for the connector to rest in.)
- A saw
1. Using 5/8" bit, drill a hole on one of the narrow lengths of the wood, approximately 1 inch from the end of the wood. Drill to a depth of approximately 5/8".
2. Using 1/8" bit, drill a hole through the thickness of the wood, approximately 1 inch below the hole you just drilled.
3. Thread one piece of #14 copper wire through the 1/8" hole.
4. Using the saw, cut a notch in the end of the 2 × 4, at approximately the center.
5. Using the 1/8" bit, drill a hole just in front of the 5/8" hole, and extend it through the notch you just cut.
6. Thread one piece of #14 copper wire through that 1/8" hole.
To use your new soldering fixture, when you’re ready to solder the radial wires onto the connector in Step 2 of the ground-plane antenna project, just plop the connector right into that 5/8" hole, and it won’t budge while you’re working on it. If you need help holding the radial and element wires in place while you solder, that’s what the wires that you inserted into the wood are for. Wrap them around the wires you need to solder, to hold them in place as needed.
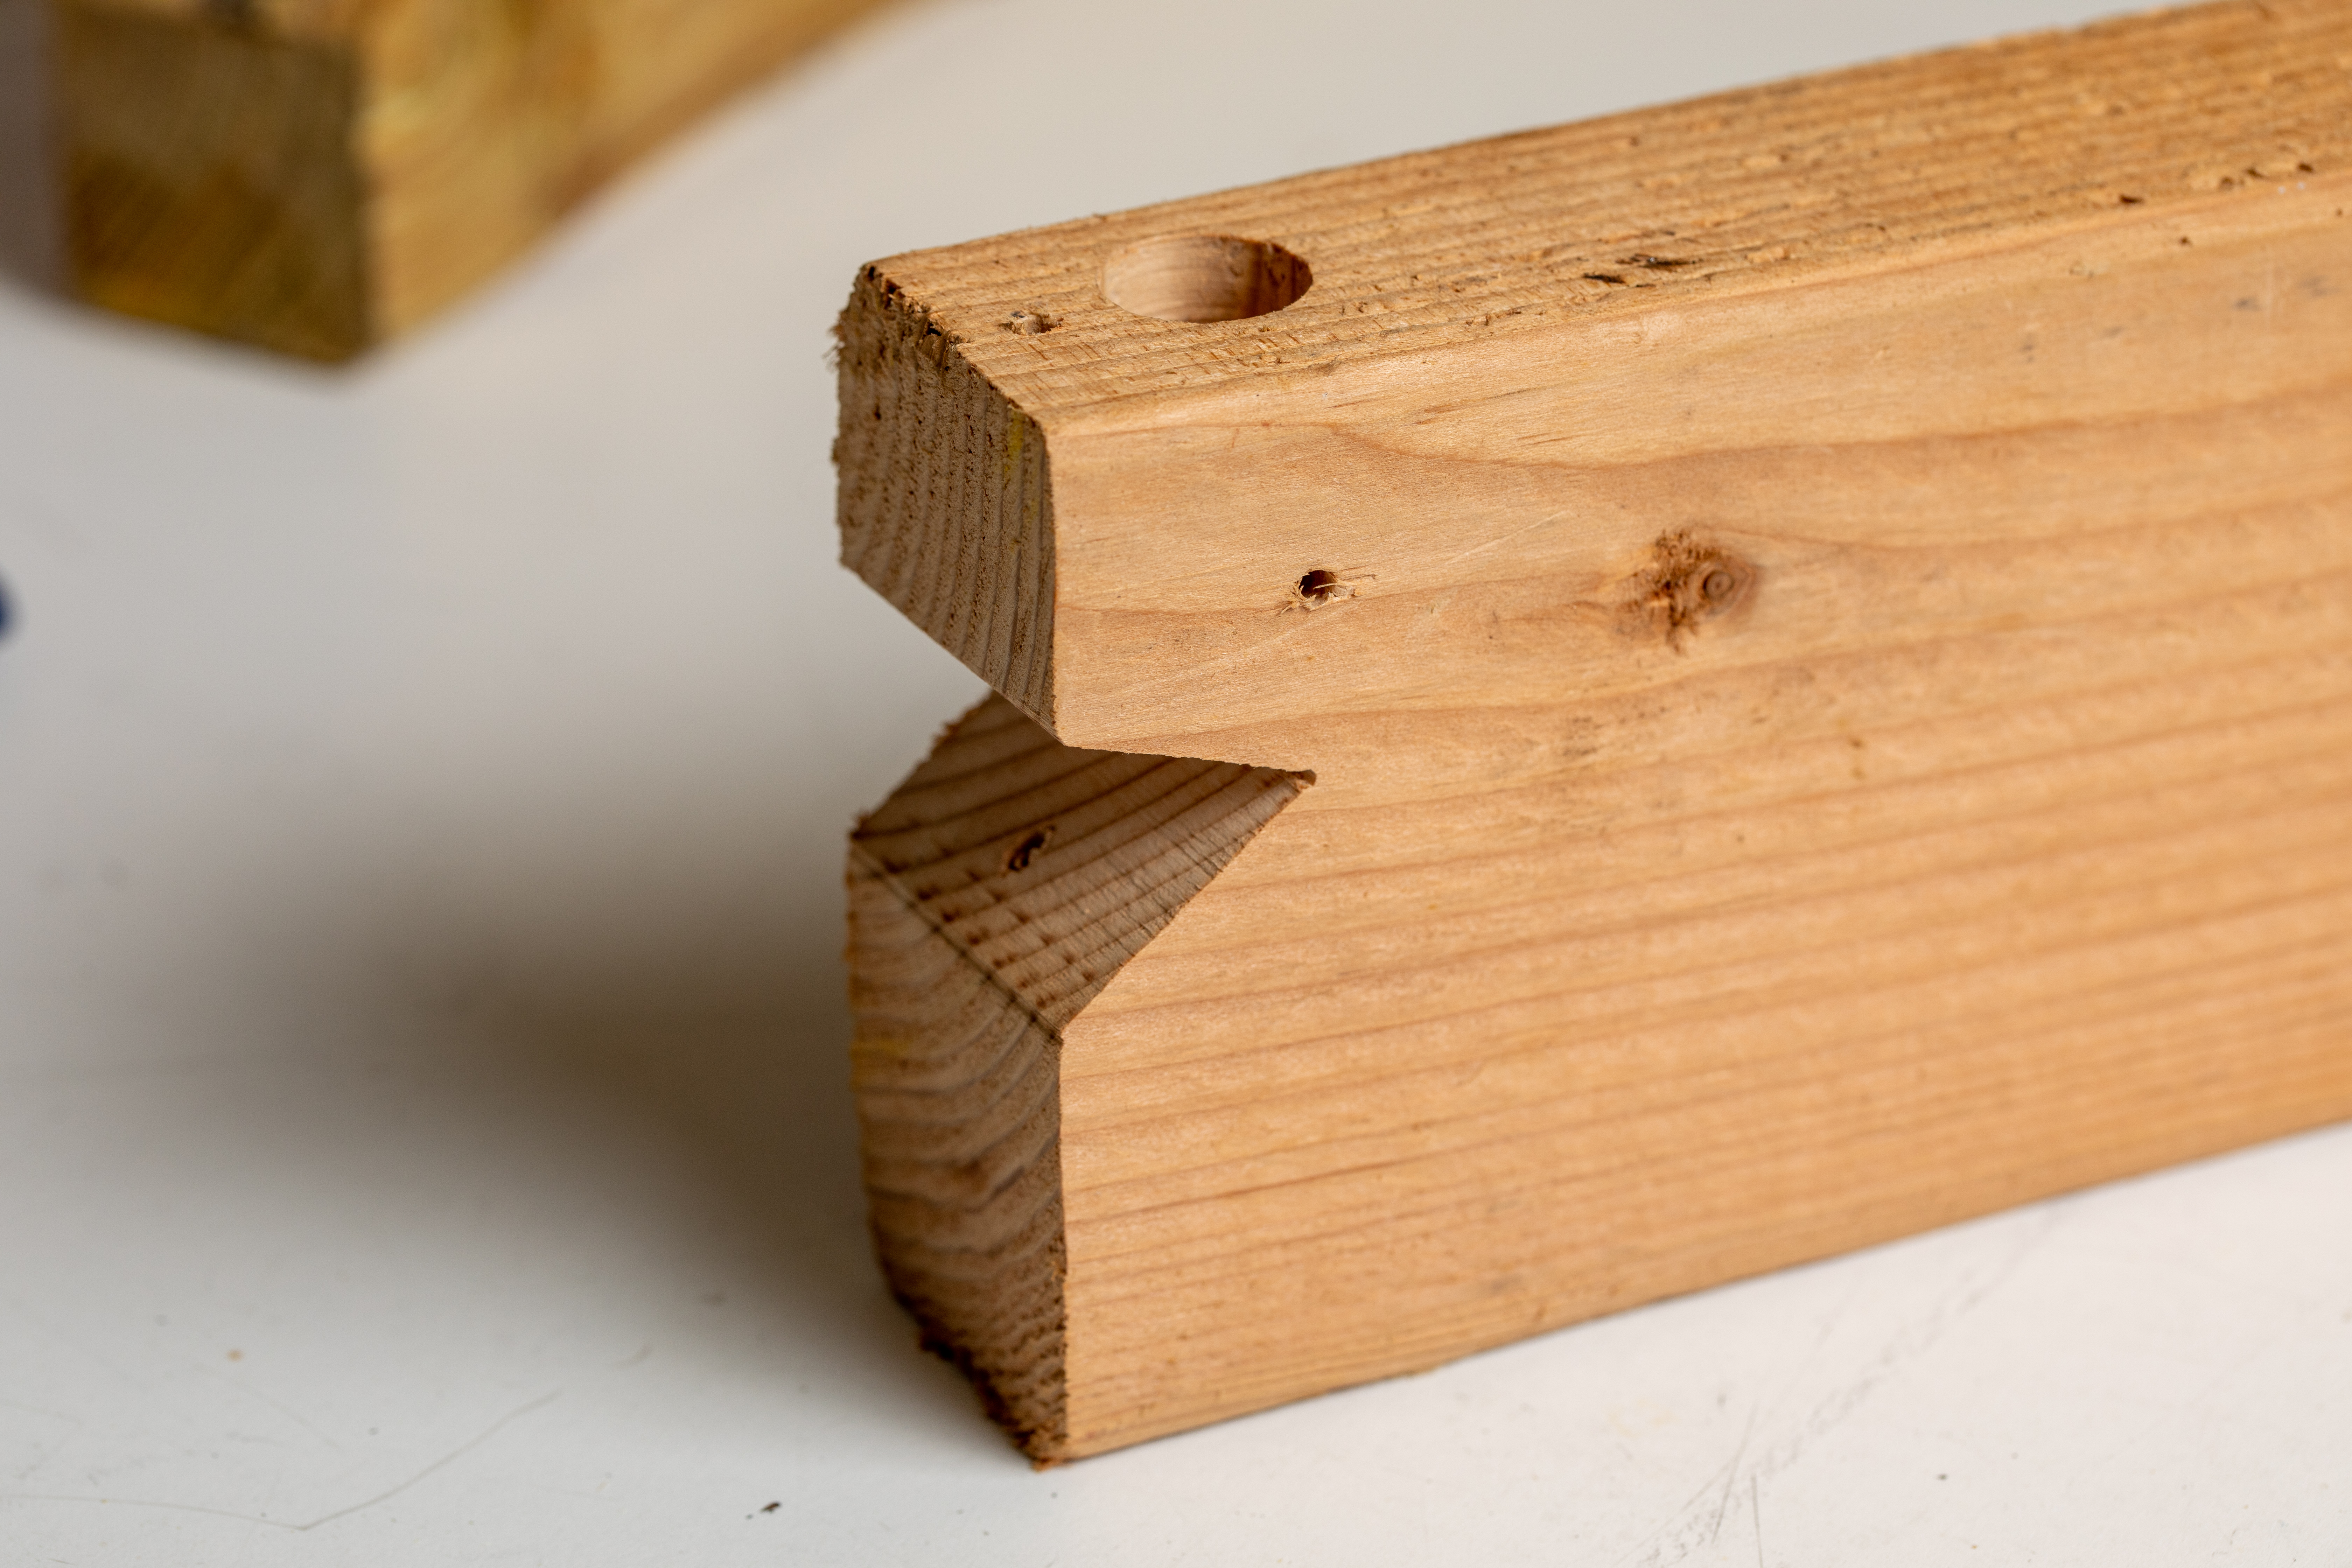
Photo 2: The 2 × 4 with the notch cut, and the holes drilled. Not that the wire hole drilled just in front of the large hole for the SO239 connector also extends to the bottom of the notch.

Photo 3: The completed fixture, with the wires inserted. Wrap these wires around the wires you’re soldering onto the connector, to hold them still and in the proper place.